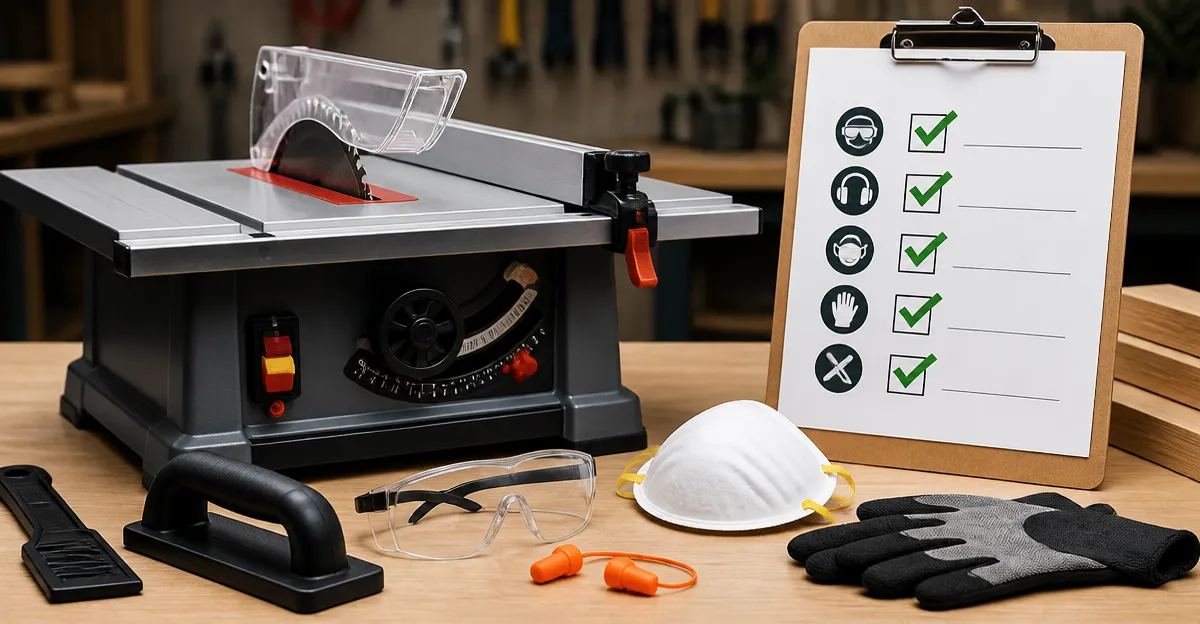
How to Make a Mini Table Saw Safety Accessories Checklist: Essential Safety Gear & Setup Tips
Introduction
Woodworking with a mini table saw offers tremendous flexibility, but the compact size can also encourage shortcuts that jeopardize hand safety. This guide will teach the reader how to construct a thorough safety‑accessories checklist, select the right tools, and configure the saw for maximum protection. By following the systematic steps, one can reduce the risk of kickback, keep fingers far from the blade, and achieve cleaner cuts. The information is valuable for hobbyists, small‑shop owners, and anyone who wants to work confidently without compromising safety.
What You'll Need (Optional)
- Mini table saw with blade guard and riving knife
- Push block and stick set (e.g., POWERTEC Push Block & Stick Set)
- Additional push sticks for narrow stock (e.g., POWERTEC Deluxe Push Sticks)
- Feather board and grabber combo (e.g., Milescraft Safety Bundle)
- Advanced 3‑D push block for precision work (e.g., MicroJig GRR‑RIPPER)
- Adjustable push block for fine rip cuts (e.g., Milescraft GrabberPRO)
- Safety glasses, hearing protection, and dust collection
Step 1: Prepare the Workspace and Verify Power Safety
Before any cutting begins, one must ensure that the work area is clean, well‑lit, and free of distractions. Disconnect the saw from the power source while installing accessories, and verify that the emergency stop button functions correctly. Use a grounded outlet and a surge protector to prevent electrical faults. This foundational step eliminates the most common sources of accidents that are unrelated to the cutting tool itself.
Key actions:
- Clear the floor of debris, clamps, and loose tools.
- Position a sturdy workbench or stand at a comfortable height.
- Check that the blade guard moves freely and that the riving knife is aligned with the blade.
- Confirm that the power cord is in good condition and that the plug is secure.
Step 2: Install a Push Block & Stick Set for General Cuts
Push blocks keep the operator's hands away from the blade while providing consistent downward pressure. The POWERTEC Push Block & Stick Set includes a long hold‑down block, two short blocks, a V‑shaped stick, and a straight stick. Each component features an ergonomic handle and slip‑resistant rubber pads that maintain grip on a variety of wood surfaces.
Why this product? At $21.16 it offers a 4.5‑star rating from 390 reviews, indicating durability and user satisfaction. The V‑stick allows precise control near the blade, while the long block is ideal for larger panels. By using the set, one reduces the likelihood of kickback and achieves smoother cuts.
Installation steps:
- Place the long push block against the leading edge of the workpiece.
- Apply firm, even pressure with the ergonomic handle as the wood feeds through the blade.
- For narrow stock, swap to the straight push stick, inserting the tip behind the material and guiding it from the rear.
- When detailed control is needed—such as routing or trimming close to the blade—use the V‑shaped stick to push the piece safely.
Step 3: Add Dedicated Push Sticks for Narrow or Small‑Scale Work
When cutting thin strips or making precise cross‑cuts, a standard block can be cumbersome. The POWERTEC Deluxe Push Sticks come as a 2‑pack of L‑shaped sticks that fit tightly against the blade, allowing the operator to push the entire workpiece with a single motion.
Why this product? Priced at $13.99 with a 4.6‑star rating from 1,110 reviews, these sticks provide a slimmer profile than traditional blocks, making them perfect for 9/16‑inch wide stock. The rubber‑cushioned sole adds comfort and prevents slipping, while the ergonomic handle reduces hand fatigue during extended use.
How to use:
- Insert the narrow tip of the L‑stick behind the workpiece, keeping the handle away from the blade.
- Apply steady pressure to feed the wood through, allowing the extended heel to maintain contact with the fence.
- For very small pieces, rotate the stick so the V‑shaped edge contacts the wood, providing additional control.
Step 4: Incorporate a Feather Board and Grabber for Consistent Holding Pressure
Consistent pressure against the fence is essential for accurate rip cuts. The Milescraft Safety Bundle combines a feather board, a push stick, and a free‑grabber push block. The feather board’s split‑rail construction maintains uniform pressure, while the grabber offers an additional point of contact for larger panels.
Why this product? At $26.99 and a 4.7‑star rating from 1,174 reviews, the bundle delivers high‑visibility yellow components that are easy to locate in a busy shop. The feather board’s pre‑load tension design prevents over‑tightening, protecting both the workpiece and the saw.
Implementation steps:
- Mount the feather board on the saw table, aligning the rail with the fence.
- Adjust the tension knob until the board applies firm but gentle pressure on the workpiece.
- Use the Grabber push block to guide the material over the blade, especially when the feather board alone cannot reach the far edge.
- Employ the included push stick for narrow cuts where the feather board cannot engage.
Step 5: Upgrade to a 3‑D Adjustable Push Block for Precision Ripping
For professional‑grade accuracy, the MicroJig GRR‑RIPPER provides three‑directional force control—downward, inward, and forward. This 3‑D push block eliminates kickback, stabilizes the cut, and allows adjustments for varying stock widths.
Why this product? Although priced at $45.96, the GRR‑RIPPER carries a 4.7‑star rating from 12,669 reviews, reflecting its reputation as a premium safety accessory. The adjustable center leg accommodates different material sizes, and the high‑friction green pads ensure a secure grip on wood, metal, or plastic.
Setup procedure:
- Position the push block on the table so that its three legs contact the workpiece.
- Adjust the center leg to match the thickness of the stock.
- Angle the handle for comfortable ergonomics, then apply steady pressure as the wood passes the blade.
- Use the forward‑pressure leg to keep the piece from drifting toward the blade, reducing the chance of burn marks.
Step 6 (Optional): Use an Adjustable GrabberPRO for Ultra‑Fine Rips
When ripping strips as thin as 1/8 inch, the Milescraft GrabberPRO offers interchangeable legs that can be set to 1", 1/2", 1/4", or 1/8" heights. This flexibility enables precise control over very small cuts while still providing the safety benefits of a push block.
Why this product? At $39.99 with a 4.8‑star rating from 1,996 reviews, the GrabberPRO combines a robust rubber “teeth” grip with an ergonomic handle that keeps the hand well away from the blade. The adjustable heel can be cut to suit specific applications, making it a versatile addition to any mini saw setup.
How to employ:
- Select the leg size that matches the desired cut width.
- Attach the leg to the block, ensuring a snug fit.
- Place the block on the workpiece, using the angled handle to maintain contact with the fence.
- Feed the wood slowly, allowing the block to guide the piece through the blade with minimal vibration.
Tips & Pro Tips
- Maintain Clean Pads: Dust and sawdust reduce the effectiveness of rubber pads. Clean them regularly with a damp cloth.
- Check Blade Alignment: A misaligned blade can cause the push block to bind, increasing kickback risk.
- Use Feather Board on All Rips: Even when a push block is in use, the feather board adds a secondary pressure point for increased stability.
- Adjust for Material Type: Softer woods may require less downward pressure; harder woods benefit from increased grip.
- Store Accessories Safely: Keep push sticks and blocks in a dedicated drawer to avoid losing them or tripping over them.
Troubleshooting
| Problem | Possible Cause | Solution |
|---|---|---|
| Push block slips on the workpiece | Dirty or worn rubber pads | Clean pads; replace if wear is evident. |
| Kickback occurs despite using a block | Blade guard not engaged or riving knife missing | Re‑install guard and ensure riving knife is present. |
| Feather board does not hold pressure | Improper tension adjustment | Loosen knob, reposition board, then retighten to a firm setting. |
Conclusion
By following this checklist, one can transform a modest mini table saw into a safe, precise workstation. The combination of push blocks, sticks, feather boards, and adjustable accessories creates multiple layers of protection, reduces kickback, and improves cut quality. Whether one chooses the budget‑friendly POWERTEC set or the premium MICROJIG GRR‑RIPPER, each tool adds measurable safety value. Implement the steps, observe the tips, and enjoy woodworking with confidence.
Products Mentioned in This Guide
Frequently Asked Questions
What safety accessories belong on a mini table saw checklist?
Include a blade guard, riving knife, push blocks/sticks, feather board, grabber, safety glasses, hearing protection, and a dust collection system.
How does a push block protect my hands while cutting?
A push block keeps your fingers away from the blade by allowing you to guide the workpiece safely from behind the saw.
Why is a riving knife essential on a mini table saw?
The riving knife prevents the cut material from closing on the blade, reducing kickback risk.
When should I use a feather board with a mini table saw?
Use a feather board whenever you need consistent side pressure to keep the workpiece flat against the fence and prevent drift.
How often should I inspect blade guards and other safety gear?
Check all guards, push sticks, and safety equipment before each use and replace any worn or damaged parts immediately.